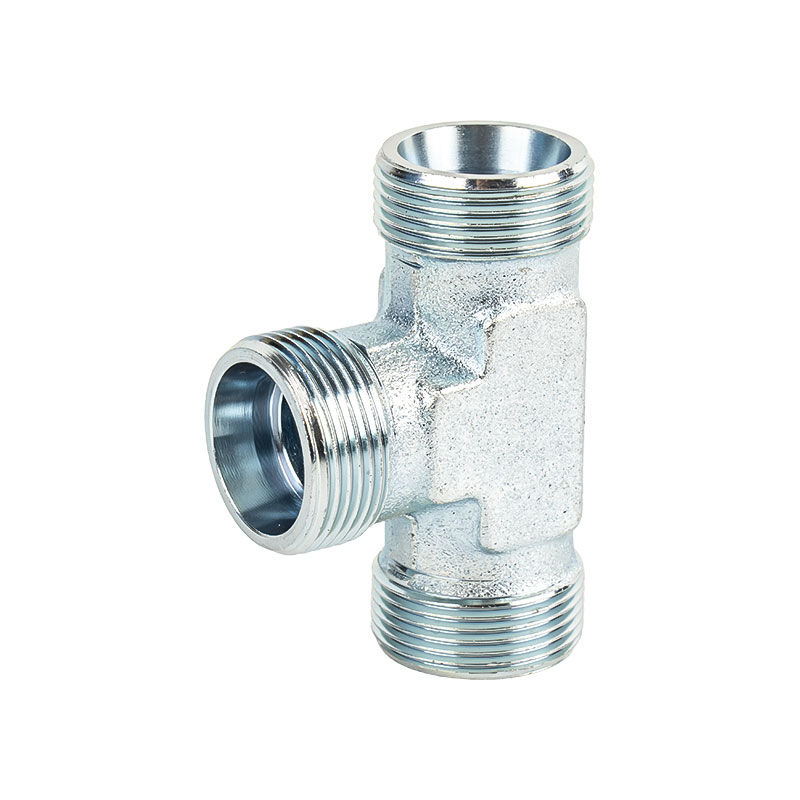
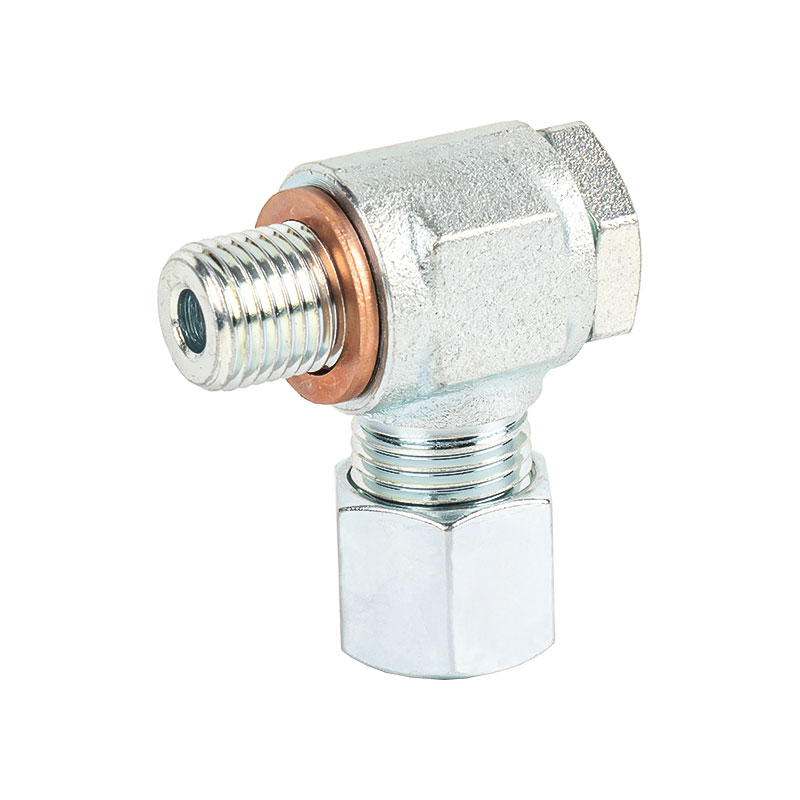
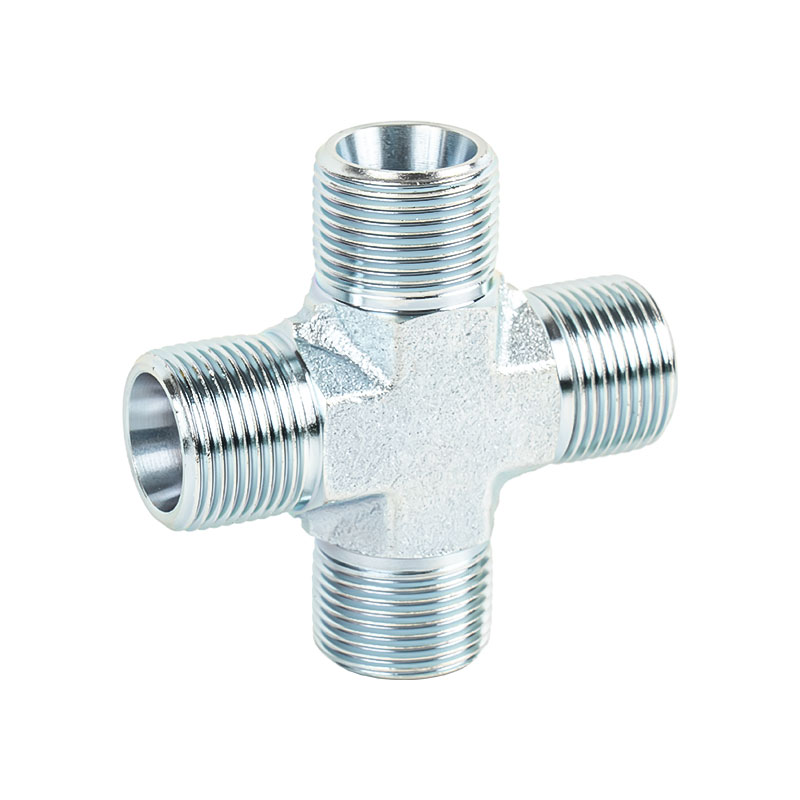
Hydraulic systems rely on the proper installation of hydraulic adapter fittings to ensure efficiency, safety, and optimal performance. These fittings are responsible for connecting various components of a hydraulic system, allowing fluid to flow seamlessly while preventing leaks or system failure. The installation of hydraulic adapter fittings must be carried out with precision and care to avoid issues such as leaks, pressure drops, and even catastrophic system failure.
Understanding Hydraulic Adapter Fittings
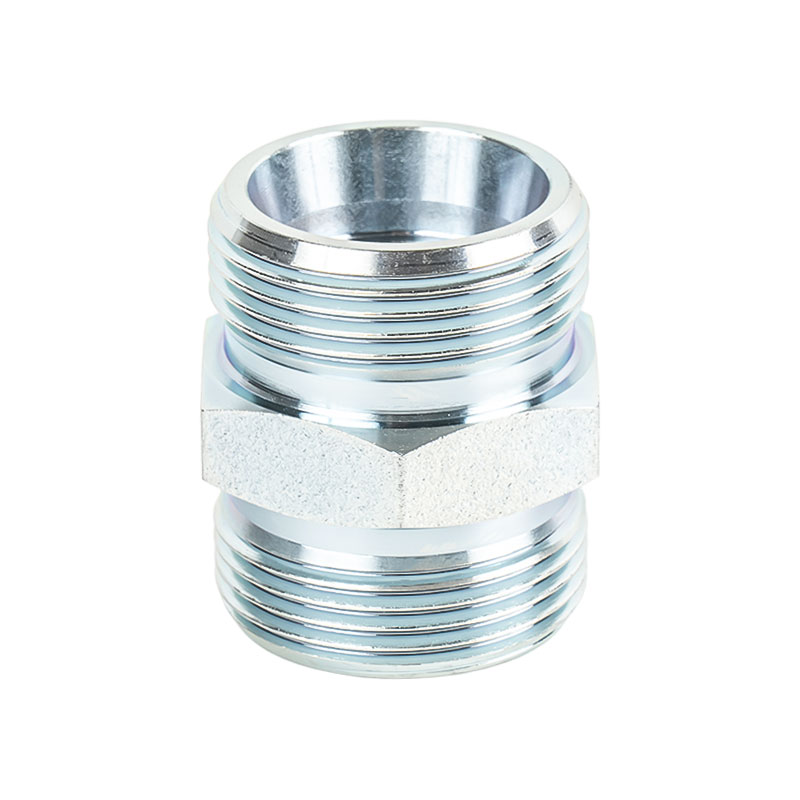
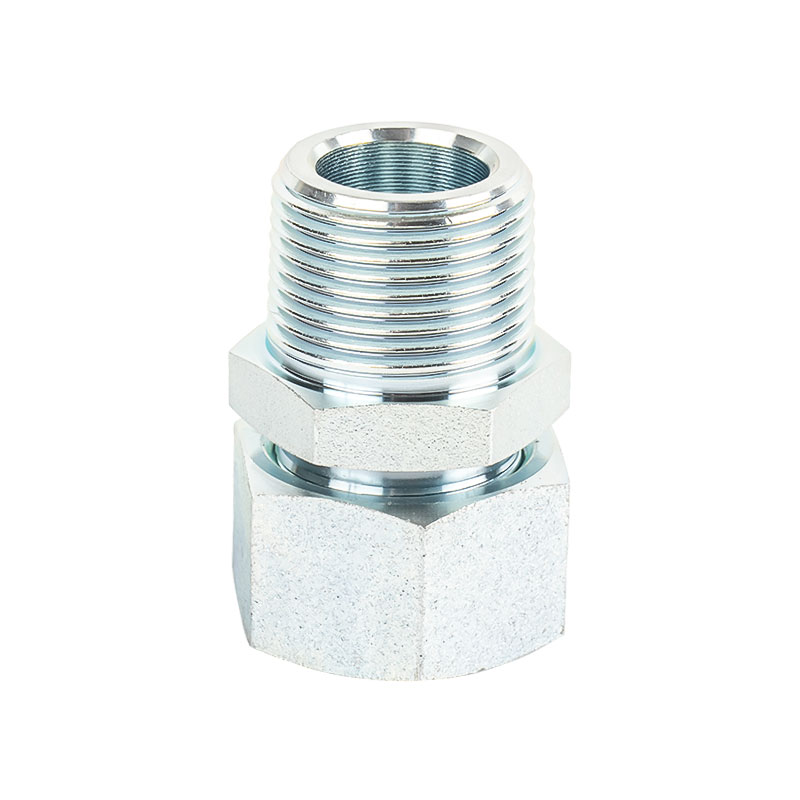
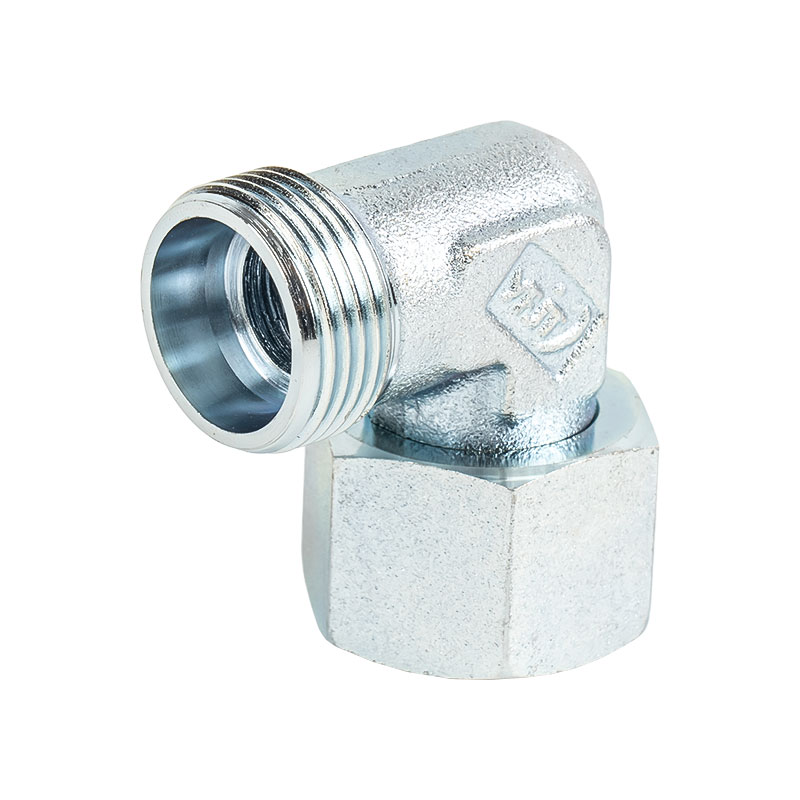
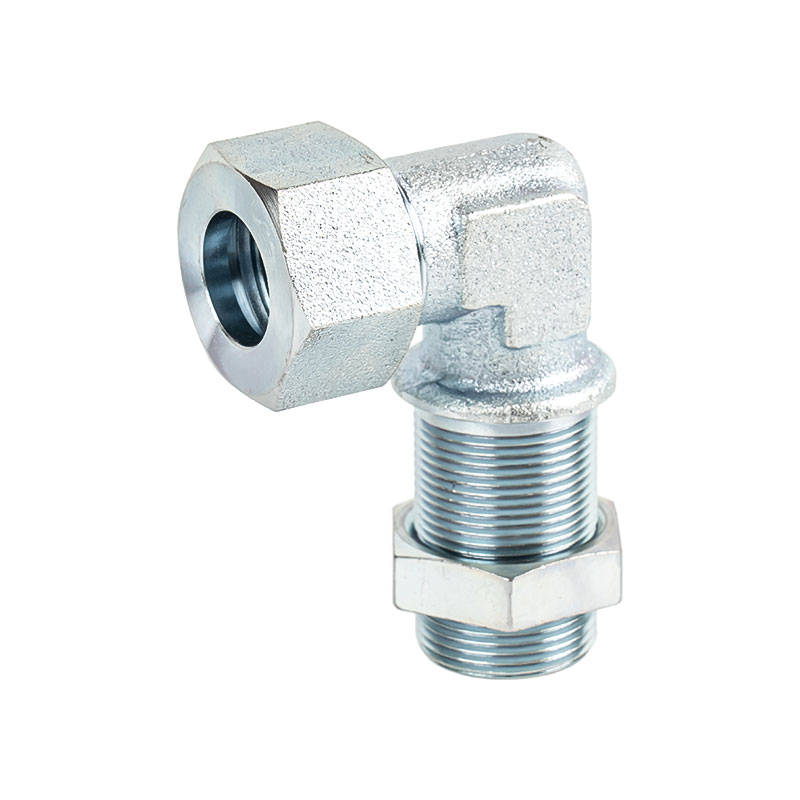
Before diving into the installation process, it is essential to understand what hydraulic adapter fittings are and how they function. Hydraulic adapter fittings are connectors used in hydraulic systems to join pipes, tubes, hoses, and other components. These fittings come in various sizes, materials, and thread types, depending on the specific requirements of the hydraulic system. The purpose of hydraulic adapter fittings is to provide a leak-tight seal while allowing for easy disassembly and reassembly during maintenance or repairs. Proper installation is key to achieving this seal and ensuring the reliability of the system.
Step 1: Choose the Right Hydraulic Adapter Fitting
The first step in preventing leaks or system failure is selecting the appropriate hydraulic adapter fitting for your system. It is crucial to choose a fitting that is compatible with the size, pressure, and fluid type of your system. There are several types of hydraulic adapter fittings, including threaded, flanged, and push-to-connect fittings. Each type has its own specific installation requirements. Additionally, the material of the fitting must be compatible with the hydraulic fluid to avoid corrosion or degradation. For instance, stainless steel fittings are suitable for systems using corrosive fluids, while brass may be used for low-pressure systems.
Step 2: Prepare the Components and Tools
Before installing hydraulic adapter fittings, ensure that all components are clean and free from debris. Dirt, dust, and contaminants can affect the sealing ability of the fittings and may cause leaks or system inefficiency. Use appropriate cleaning methods, such as flushing the lines or wiping components with lint-free cloths, to remove any contaminants. Additionally, ensure that you have the necessary tools for installation, including wrenches, thread sealant (if required), and a torque wrench to tighten the fittings to the correct specifications. Using the right tools ensures that the fittings are installed properly and reduces the risk of damage to the components.
Step 3: Inspect Threads and Seals
Threaded connections are common in hydraulic systems, and ensuring that the threads on both the fitting and the corresponding component are clean and free from damage is essential. Inspect the threads on the fitting and the component it will connect to, making sure they are undamaged and properly aligned. Damaged threads can lead to poor sealing and leaks. In some cases, thread damage can even cause complete failure of the connection under high pressure. Additionally, inspect any seals or O-rings that will be used in the connection. These seals are critical for preventing leaks, and they must be in good condition. Replace any damaged or worn seals to ensure a proper seal is achieved.
Step 4: Use Thread Sealant or Teflon Tape When Necessary
For threaded connections, it is often necessary to apply thread sealant or Teflon tape to ensure a leak-free connection. Thread sealants create a tight seal between the male and female threads, preventing fluid leakage under pressure. However, it is important to use the correct type of thread sealant for your specific application. Some hydraulic systems use high-pressure fluids that may require a specific type of sealant that can withstand the fluid’s chemical properties. Teflon tape, while commonly used, should be applied correctly to avoid overuse, which can cause clogs or restrict fluid flow. Apply the sealant or tape evenly, and avoid excess application, as this can interfere with the thread engagement and result in improper sealing.
Step 5: Tighten the Fittings to the Correct Torque
One of the most important steps in installing hydraulic adapter fittings is tightening them to the correct torque specifications. Over-tightening or under-tightening the fittings can both lead to issues. Over-tightening can cause damage to the threads, O-rings, or seals, leading to leaks or potential failure. On the other hand, under-tightening may cause the fitting to become loose over time, leading to leaks under pressure. It is essential to use a torque wrench to tighten the fittings to the manufacturer’s recommended specifications. This ensures that the connection is secure and leak-free without damaging the components.
Step 6: Test the System for Leaks
After the hydraulic adapter fittings are installed, it is critical to test the system for leaks. Before pressurizing the system, double-check that all fittings are properly tightened and that seals and threads are intact. Once the system is pressurized, carefully inspect each connection for any signs of leakage. Pay particular attention to areas around the threads, seals, and connection points. If any leaks are detected, release the pressure, tighten the fitting, or replace damaged seals before retesting. It is better to catch leaks during the testing phase rather than after the system is fully operational, as leaks can cause significant damage to hydraulic components and reduce the system’s efficiency.
Step 7: Monitor the System During Operation
Once the hydraulic system is fully operational, it is essential to continue monitoring it for any signs of issues. While the fittings may be correctly installed, factors such as pressure fluctuations, temperature changes, or wear over time can cause fittings to loosen or seals to degrade. Regular inspection during operation can help identify any problems early, allowing for corrective measures before a serious failure occurs. Monitoring tools like pressure gauges or visual inspections can help detect leaks or changes in system performance.
Common Mistakes to Avoid During Installation
While the installation process is relatively straightforward, several common mistakes can occur that may lead to leaks or system failure. These mistakes include:
- Using the wrong type of fitting for the system's pressure or fluid requirements.
- Improper application of thread sealant or Teflon tape, leading to clogged lines or poor seals.
- Failing to inspect or replace damaged seals and O-rings, resulting in leaks.
- Over-tightening or under-tightening the fittings, causing damage or loosening.
- Not testing the system for leaks before full operation.
Avoiding these mistakes will help ensure that the hydraulic adapter fittings are installed correctly and that the system operates safely and efficiently.
Common Hydraulic Adapter Fitting Issues and Solutions
| Issue | Possible Causes | Solution |
|---|---|---|
| Leaking Fittings | Incorrect tightening, damaged threads, poor seals | Ensure proper torque, inspect and replace seals, check threads for damage |
| Pressure Loss | Improperly sized fittings, poor installation | Use the correct fittings for the system’s pressure, verify correct installation |
| System Failure | Loose fittings, worn seals, incorrect fitting type | Regularly inspect and tighten fittings, replace worn parts, ensure proper material compatibility |

 中文简体
中文简体